Enable DNSSec

Performance and security is always a balancing act, but in the case of DNSSec it’s a no-brainer. In short, DNSSec allows a client to trust the domain owner when performing DNS queries. It’s another step to defending your domain (and subsequently your content and network) from the bad guys. An added benefit is there is no noticeable impact to performance!
CloudFlare just released a great blog post on their DNSSec offerings and how they are expanding. In that post they discuss DNSSec in much more detail along with their implementation of it. After reading the post I enabled it on my site and it was very straightforward.
Enable DNSSec in CloudFlare
- Log into your CloudFlare account
- Select the DNS option at the top for the domain
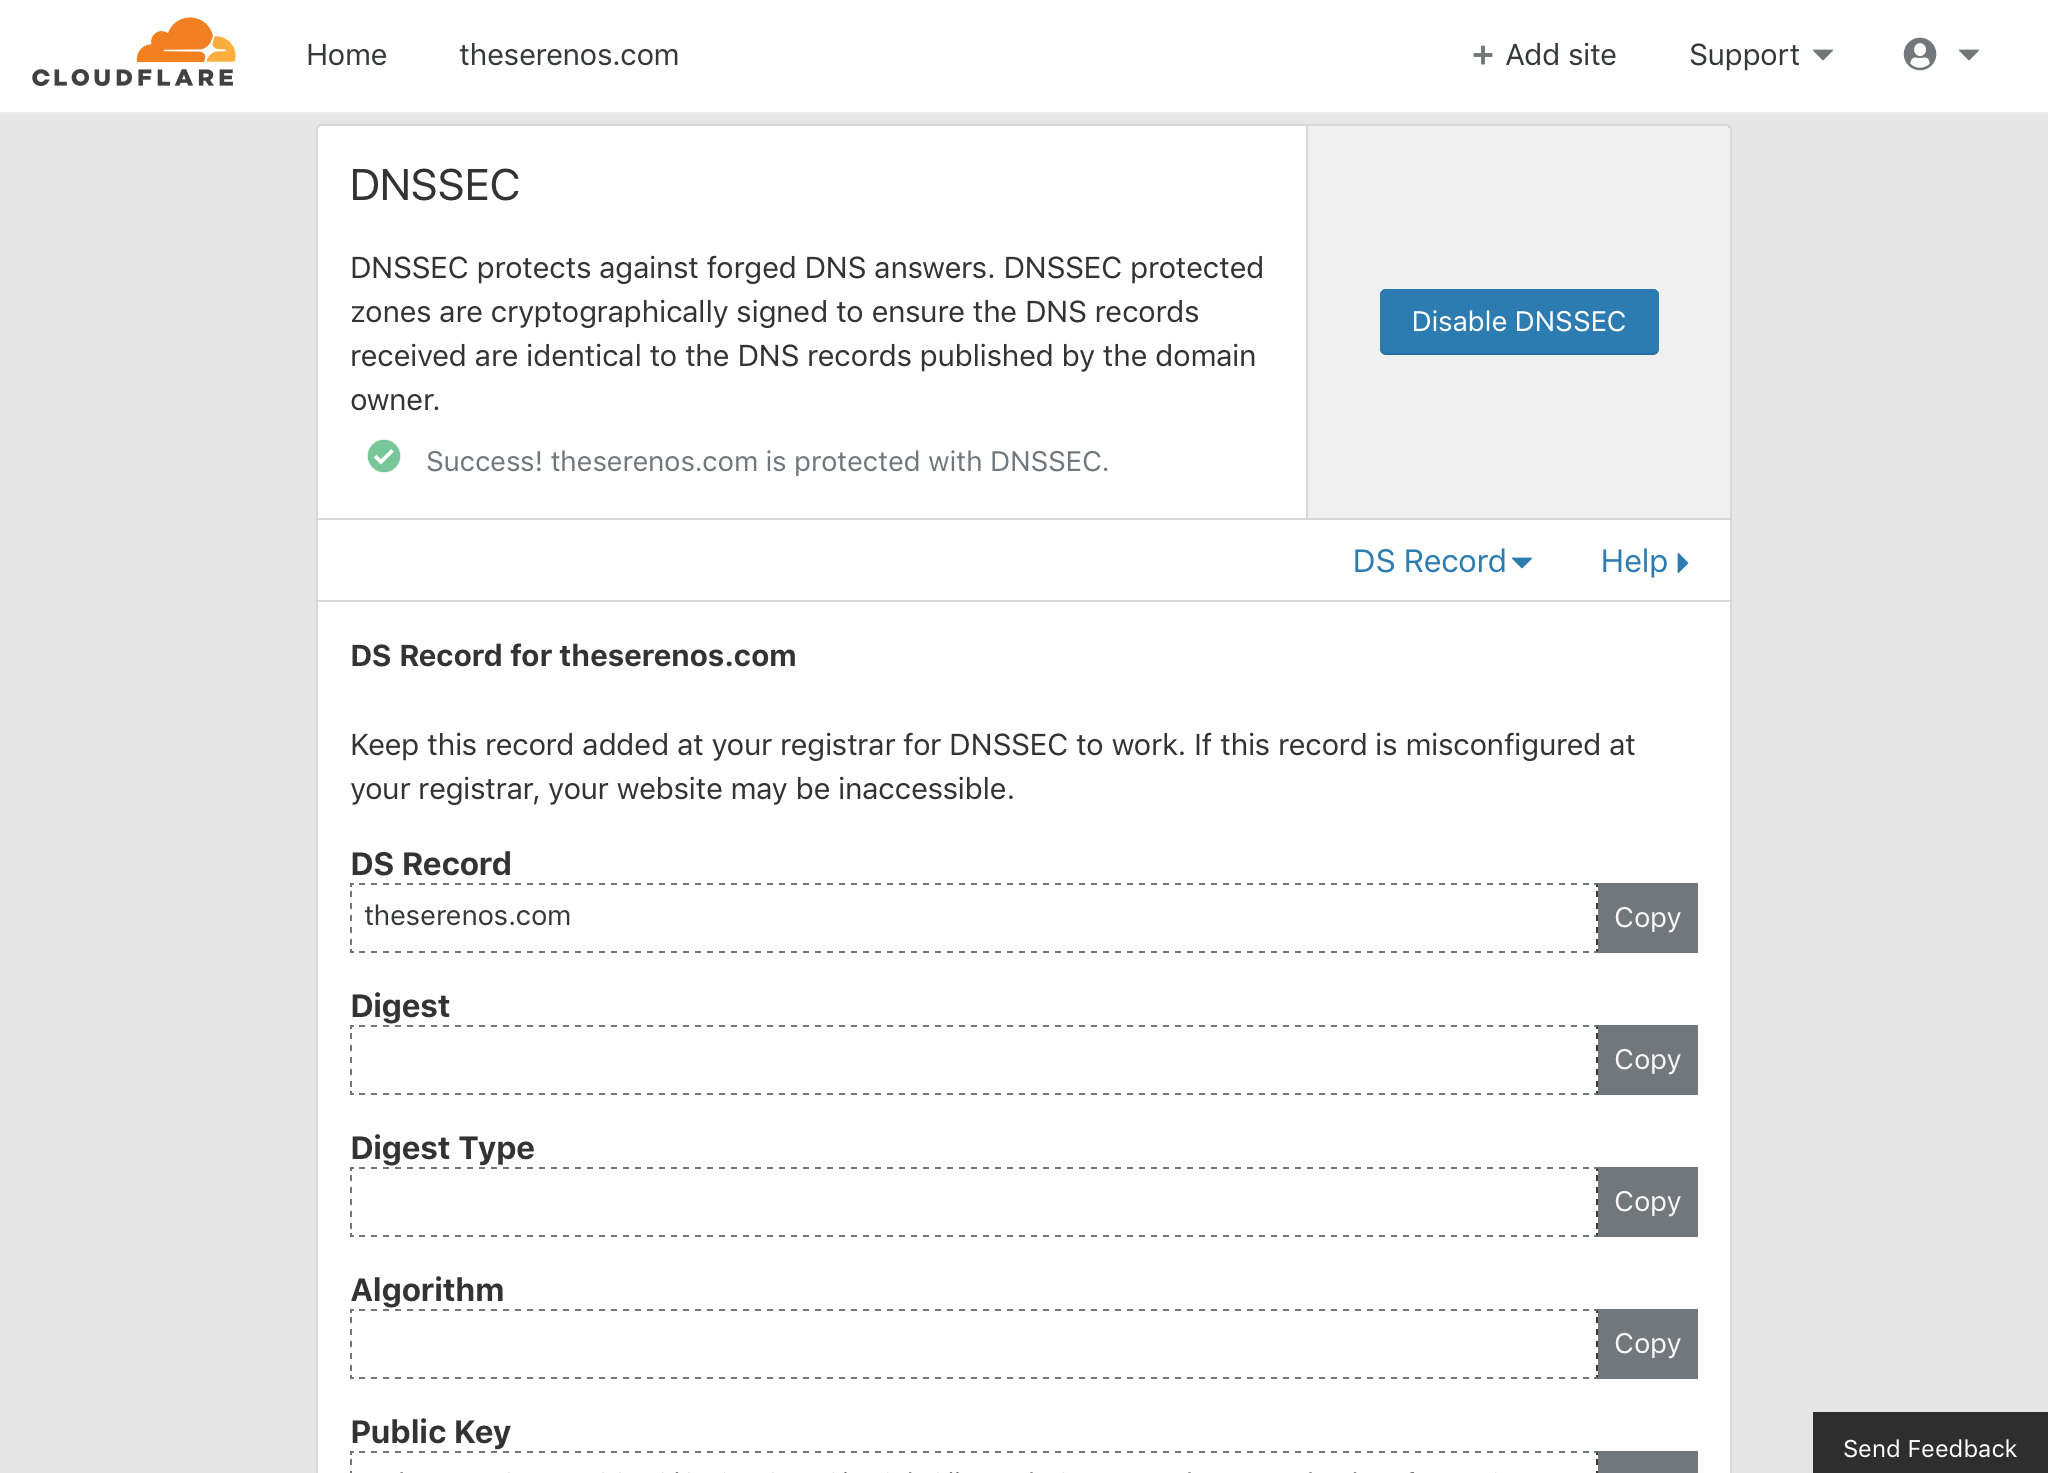
- Scroll down to the DNSSec option and click the button to enable it.
- Make note of the values presented for the DS Record
Add the DS Record to Your Registrar
In this case my registrar is NameSilo, so the instructions are for them. If you use a different registrar, please refer to their documentation.
- Login to your account
- Manage the domain
- Update DS Record
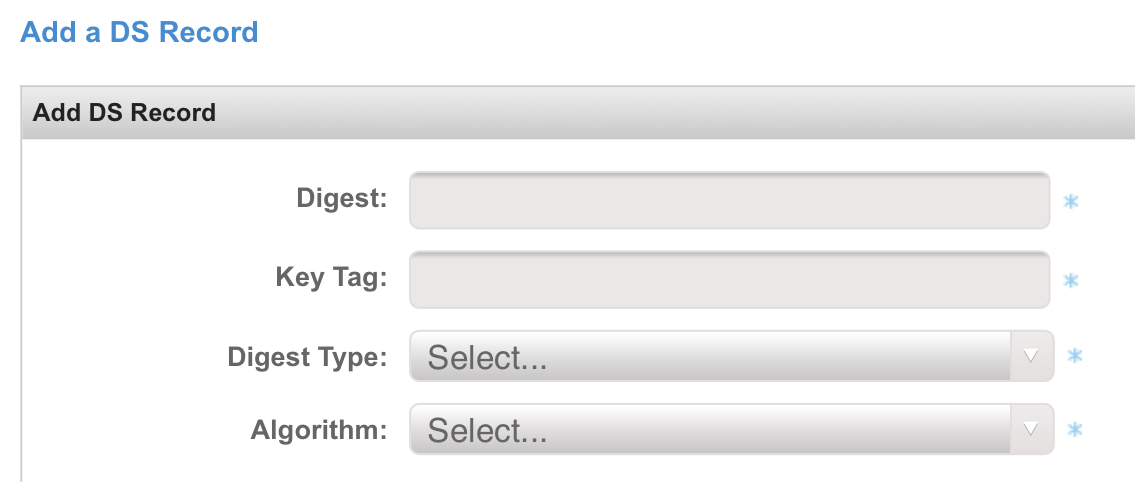
- Add a new DS Record
- Fill in the requested values and submit
That’s all there is to it! After a few moments, CloudFlare should say it’s a success and tests at sites such as http://dnsviz.net/ should show it as secure!